Day 3 of the Holiday Sugar Cookie Series
I’m going to preface today’s post, a happy conclusion to the Holiday Sugar Cookie Series, by saying that it would not have been possible for me to even attempt any of this without Ree’s inspiration and the amazing cookies over at the Sweet Adventures of Sugarbelle. So I’m going to to say this now — check out their blogs!! I mean seriously they are inspirational.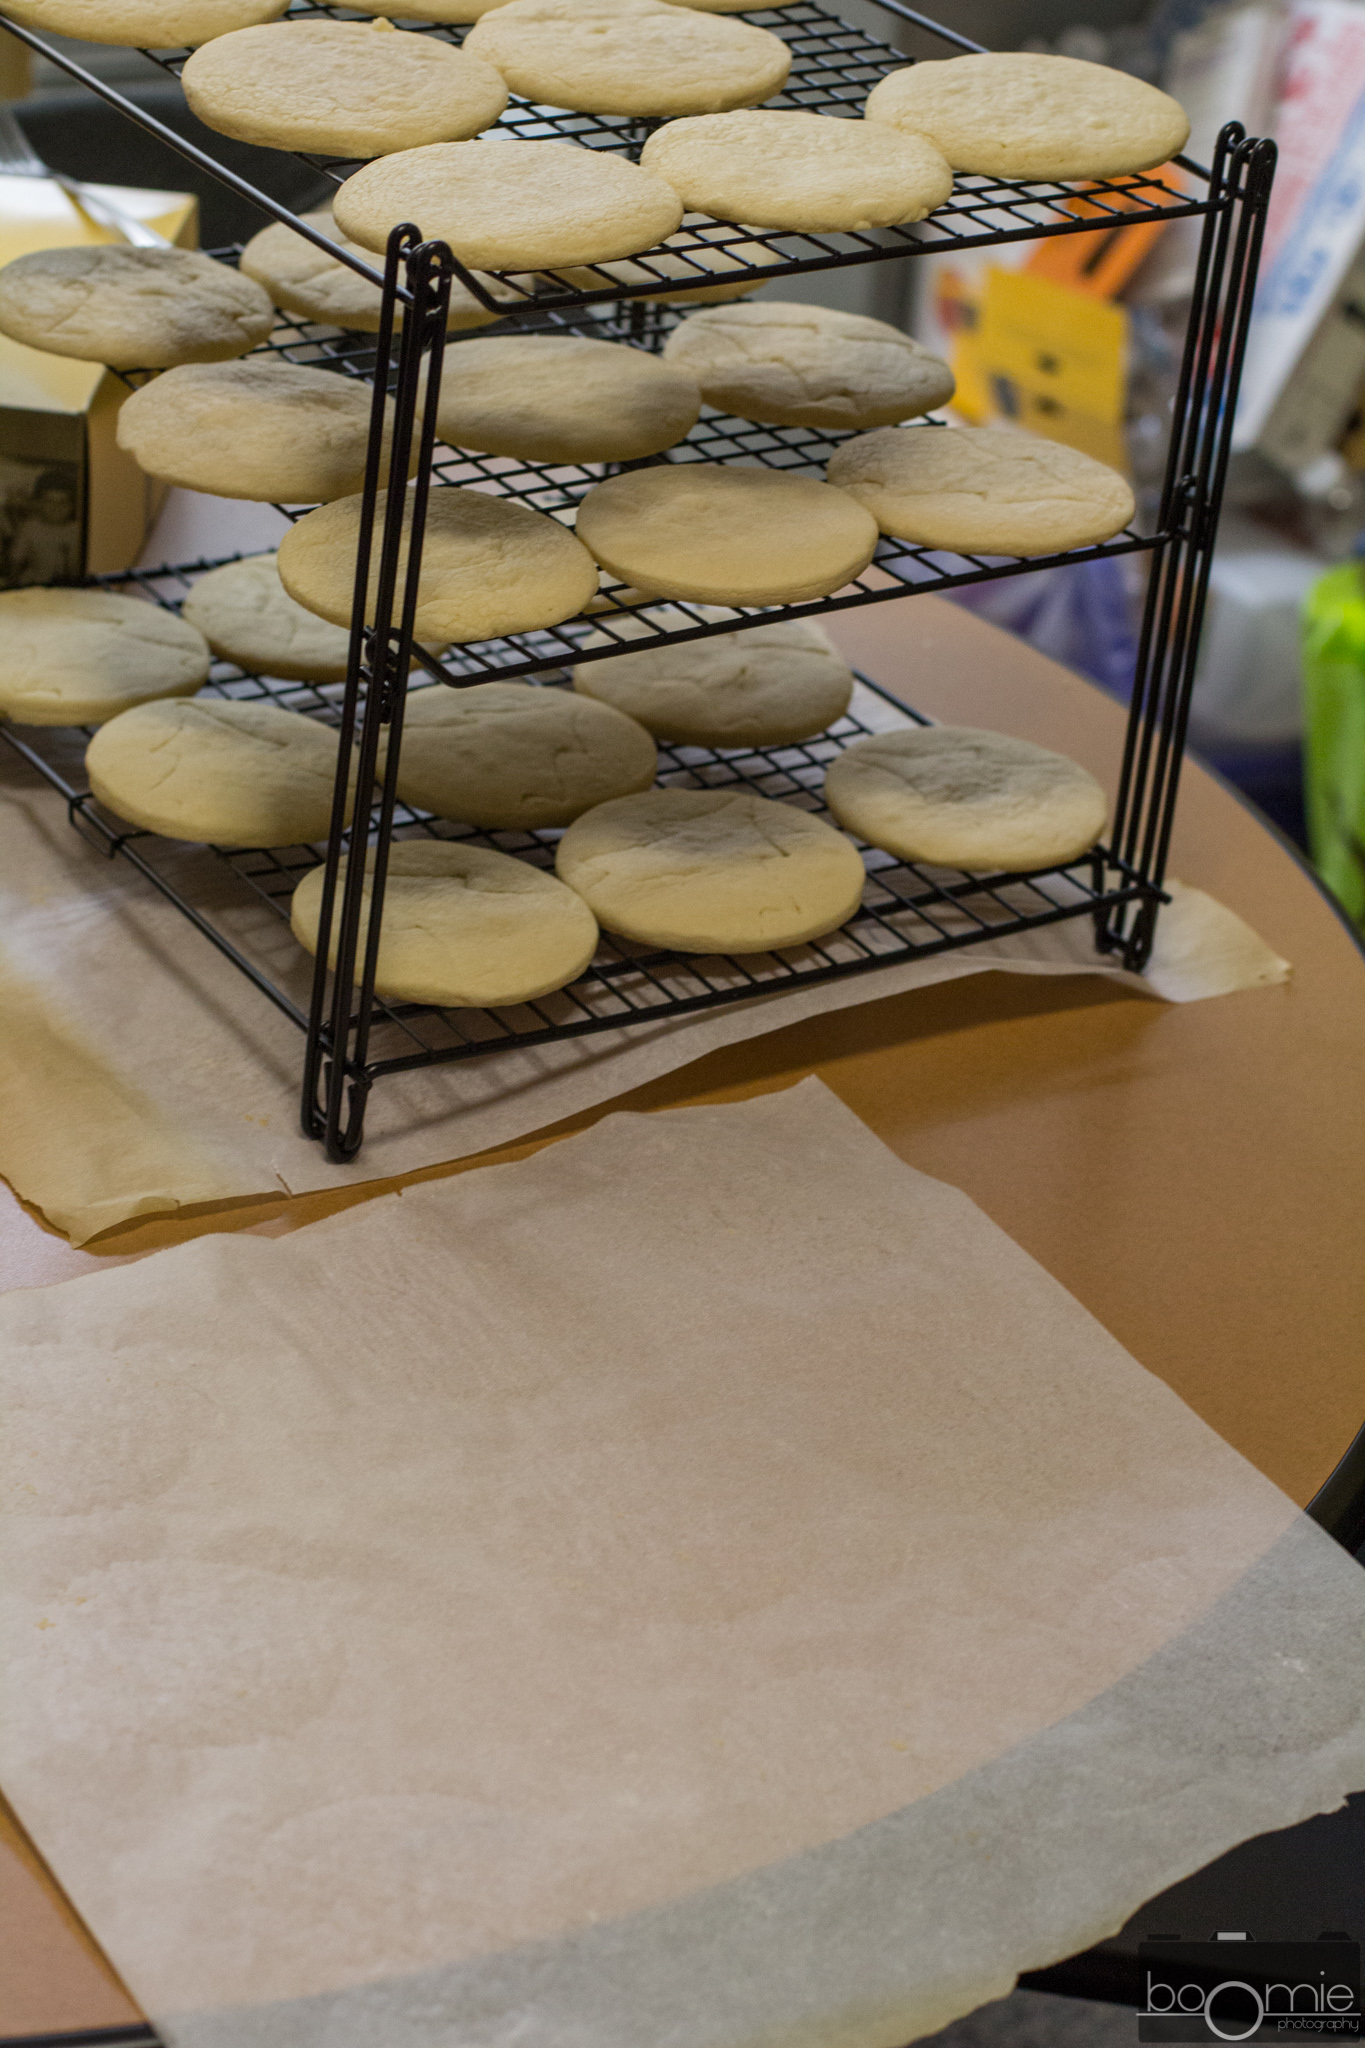
There isn’t any recipes involved with today’s post, just some ideas. To help you slackers that haven’t made your cookies yet, here are a few tips for the cookie baking process.
-
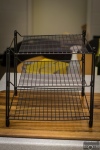
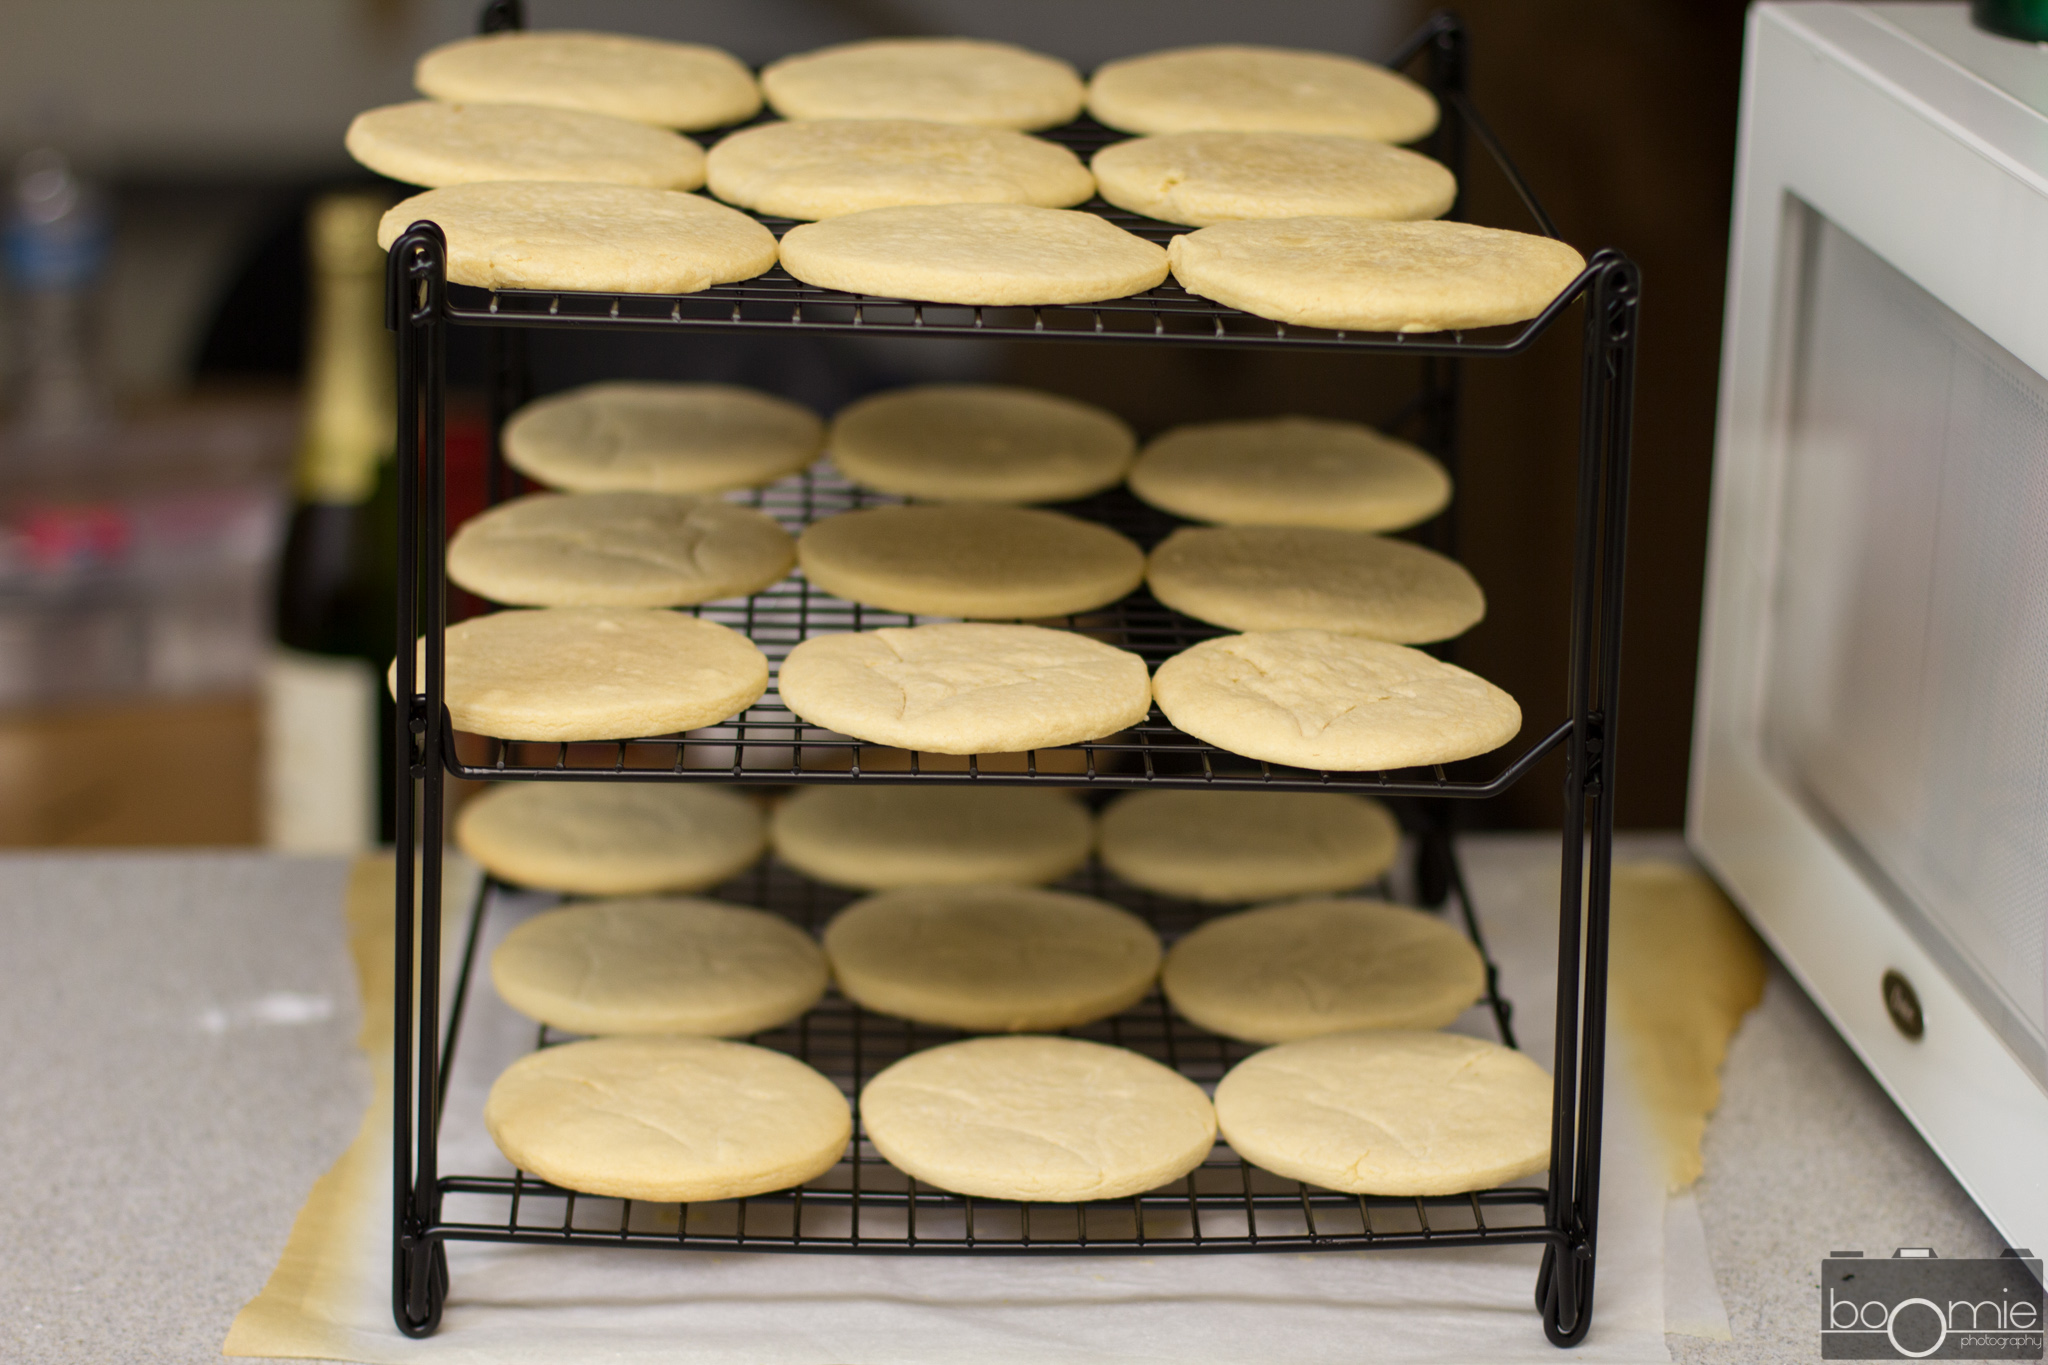
- If you don’t have a cookie rack yet, get one. This one folds together when you aren’t using it but when you are, its huge and spacious, I use it for macarons, cupcakes (the levels are high enough for the frosting), and my sugar cookies
-

- If you don’t have time to bake the cookies right away, wrap it in plastic wrap. Add a minute or two to your bake time when you roll it out
-
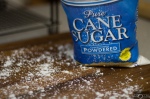
- Speaking of rolling things out, use powdered sugar instead of flour, this prevents overworked dough. And who wouldn’t want a little extra sugar in their life (well, cookie)
-
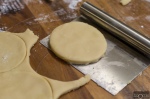
- I love my Paula Deen work surface and scraper. I’m lucky enough to have a roommate who gets me bench scrapers
As far as your equipment is concerned, this is what I used. A lot of these things I had laying around or could be repurposed — although I did use this as an excuse to buy more tips, couplers, and some squeeze bottles.
-

- I usually use zip lock bags but go with real piping bags, you’ll need it for the thick outline frosting. Don’t bother with re-washable ones because 1)the frosting stains 2)frosting is a pain to wash and 3) you’ll need one for every color you plan on using
-
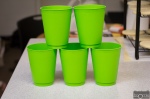
- Cups. and lots of them. They are your friend when you’re trying to fill piping bags and when you need something to hold the bags
-
- Line them with a moist paper towel, this prevents the frosting in the tip from drying out and it also makes clean up easier
-
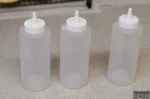
- Squeeze bottles are the easiest to use when you are flooding frosting.
-
- I got some couplers. This isn’t necessary if yo have enough tips but I didn’t… If you plan on using couplers make sure you also wipe the tips clean
-
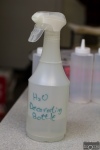
- This isn’t necessary. I love my mist bottle when I’m decorating because it delivers a steady dose of water and I don’t need to use a spoon.
Now I know some of you have been following since day 1. So gather your cut-out sugar cookies, and get the following set up. Everyone else, come back a day after you’ve made your cookies and right after you’ve made your royal frosting. Or keep reading for the fun of it.

Start by arranging all of your equipment. Line cups with paper towels, fit couplers to piping bags, and arrange pipping bags so that they are inverted into cups and are held up.
Outline icing

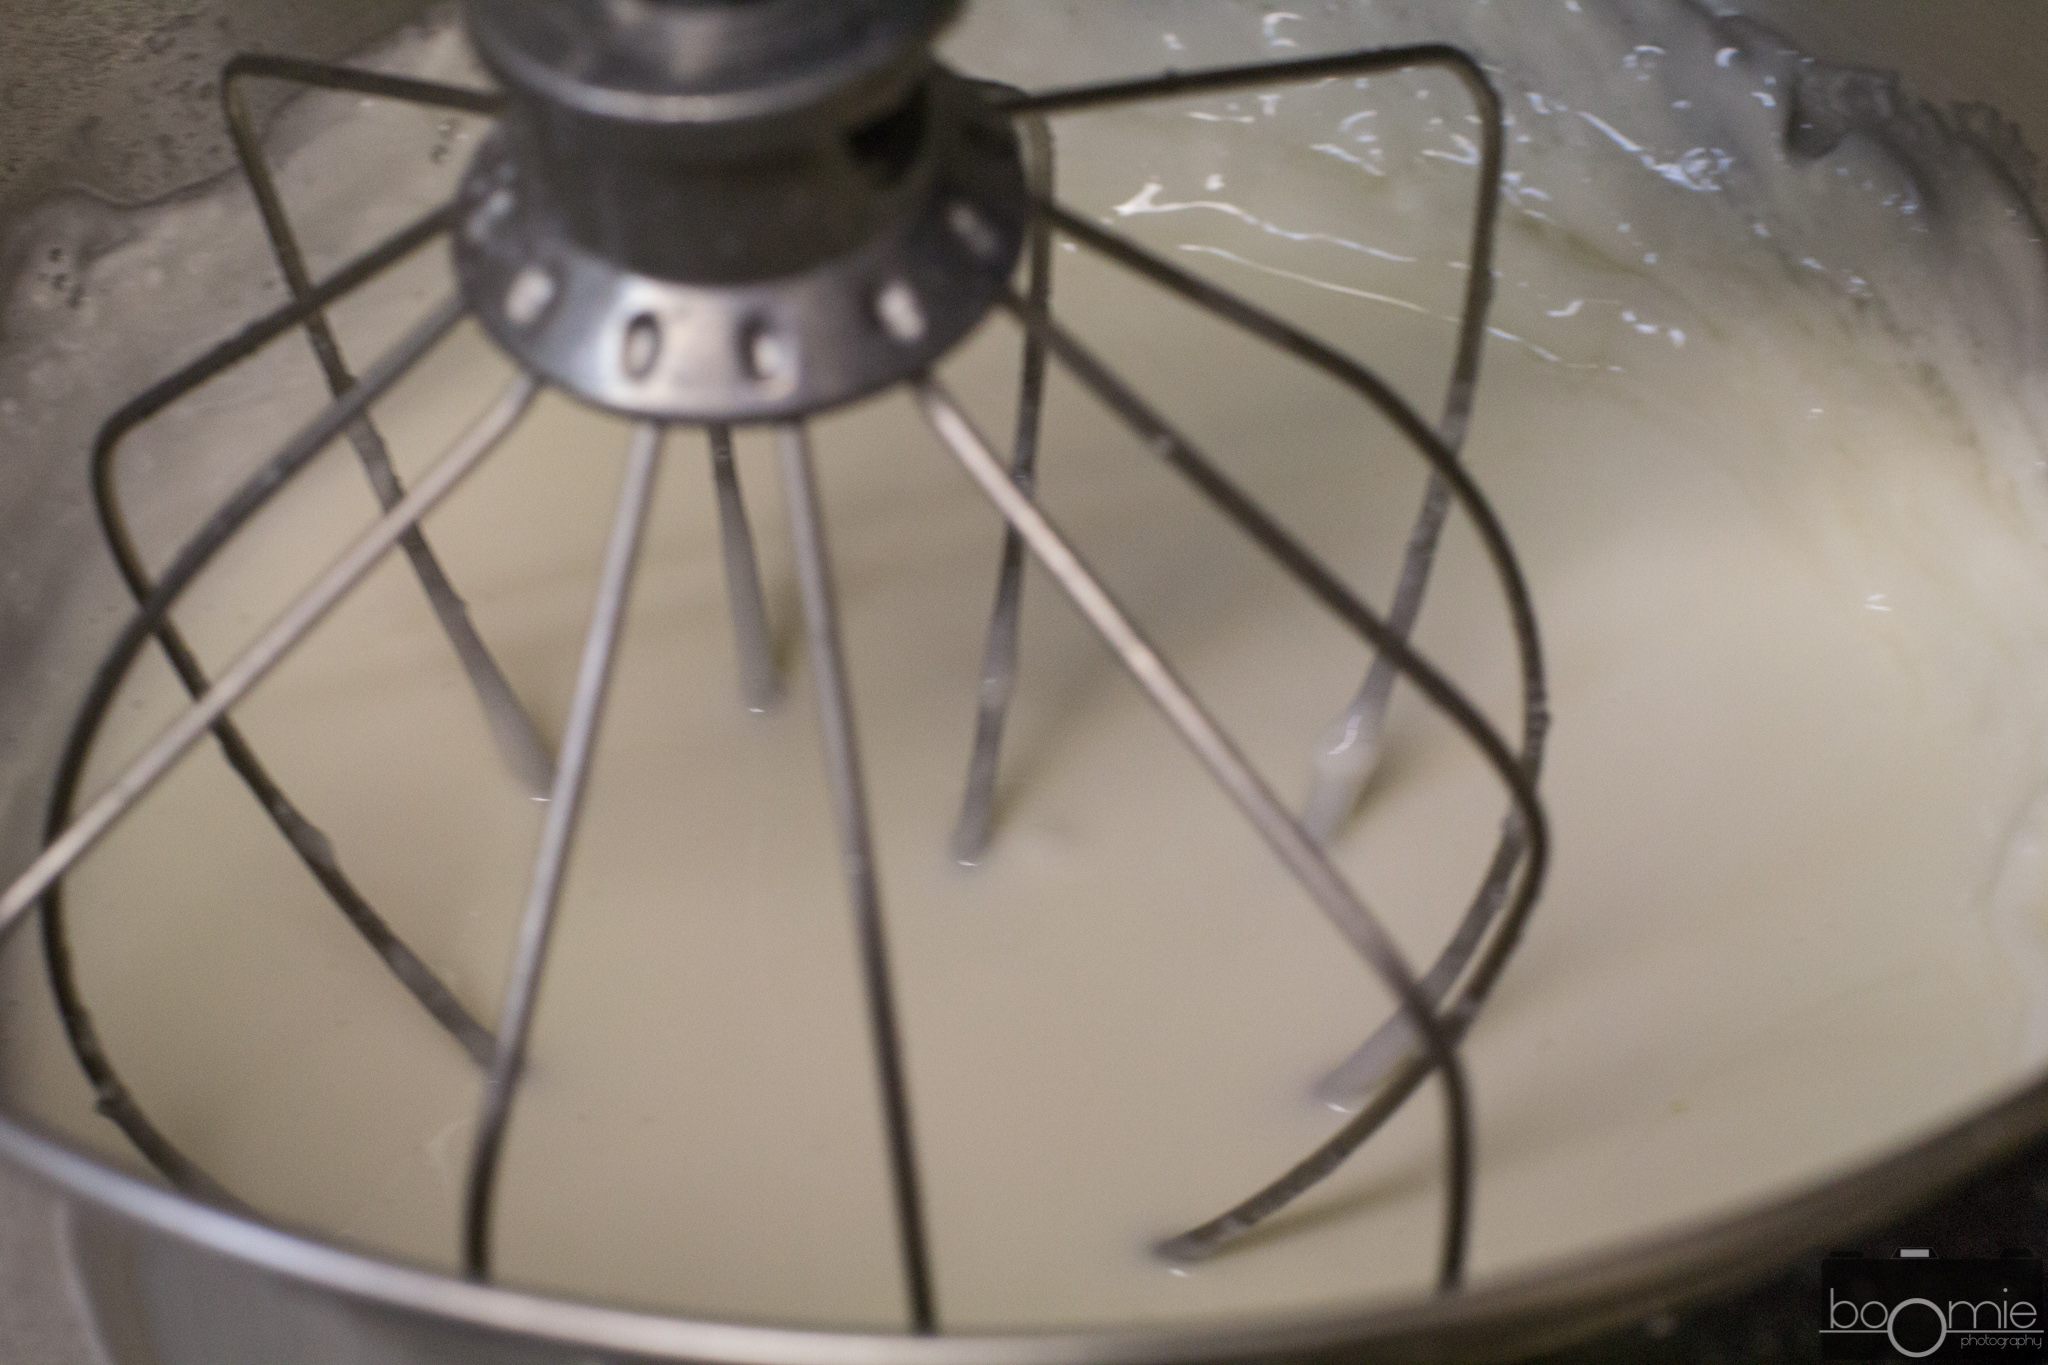
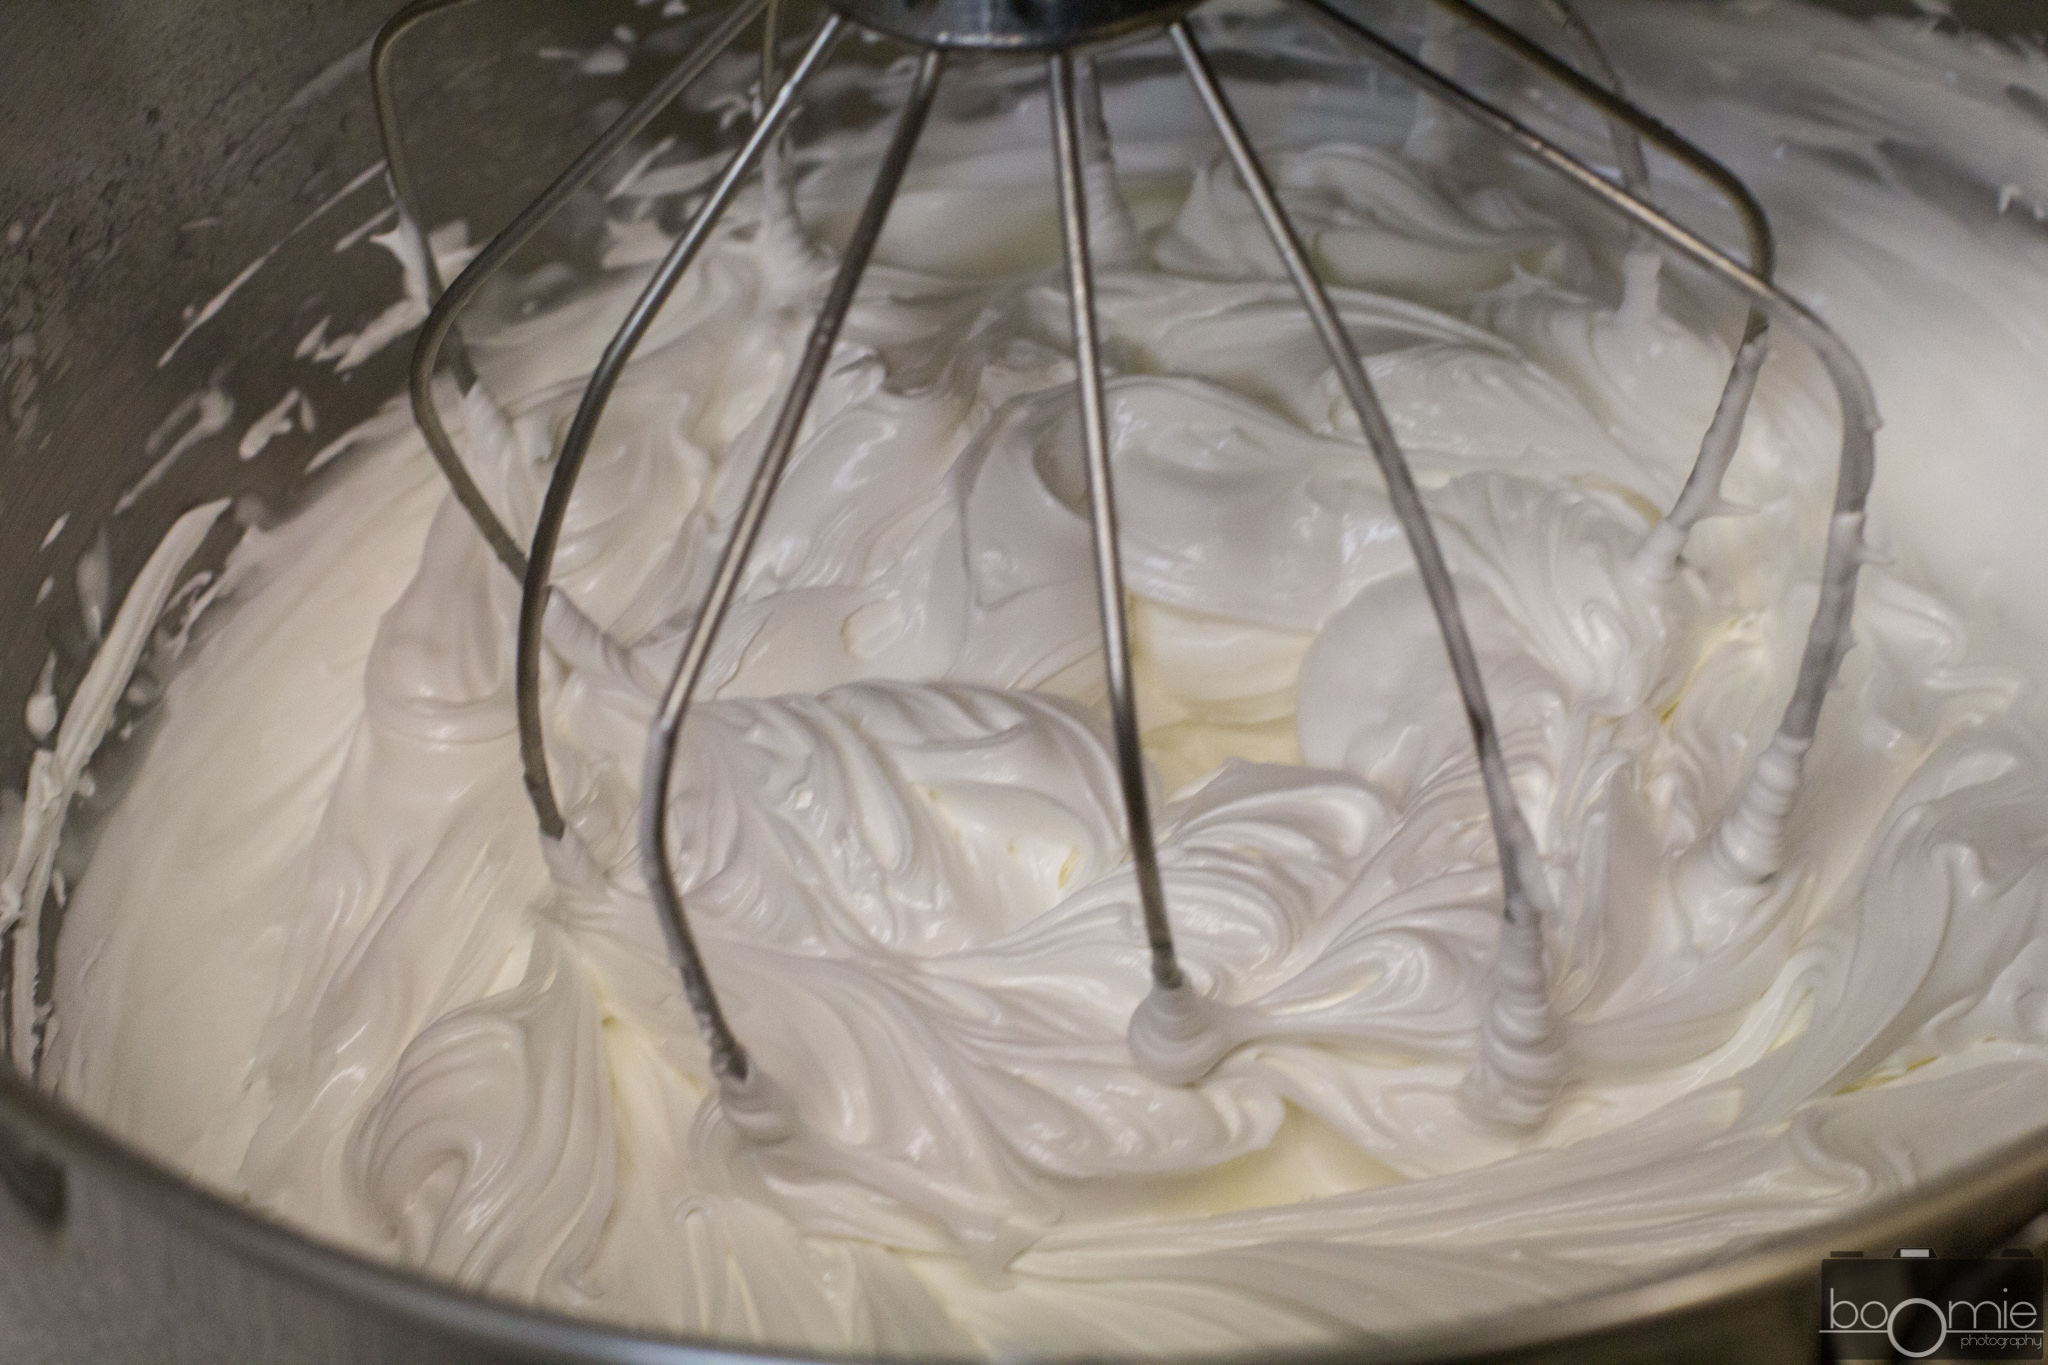
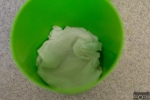
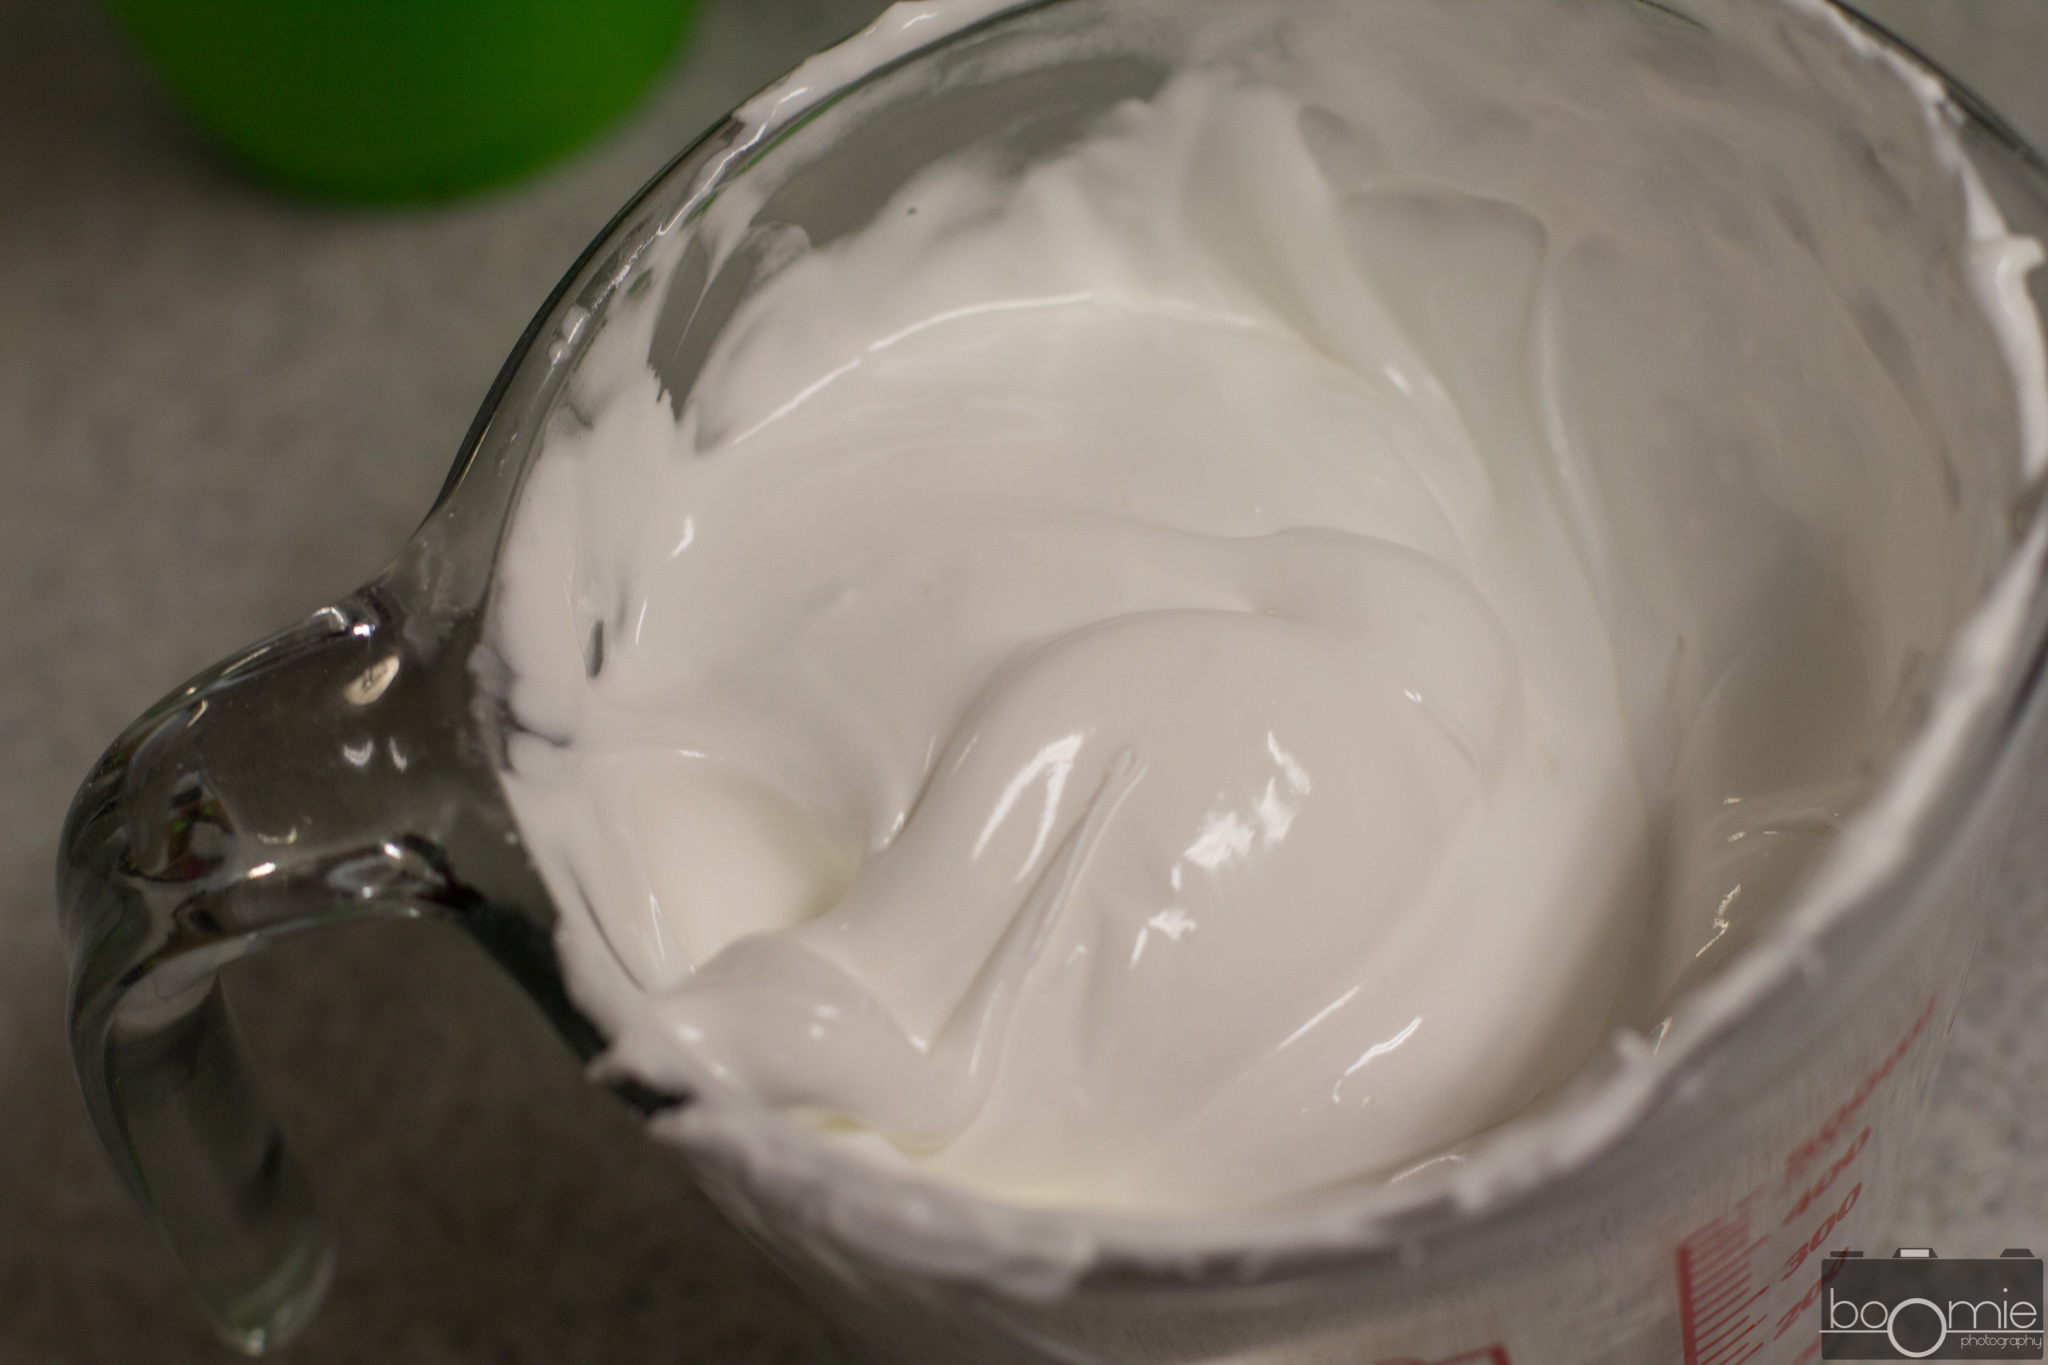
Start by filling a two-cup measuring cup with some of your fresh royal frosting. Add the color of your desire, and mix. If you’re using a mister, mist two or three times, otherwise add around 1/2 tsp to 1 tsp of water to the icing and mix to combine. Repeat this process until your frosting is like toothpaste.
Do not get impatient and add more motor or else your icing will fall apart. Once it reaches the toothpaste consistency, take about 1/2 cup to a 3/4 cup of icing out and add it to a pipping bag. Tie with a pipping bag tie or rubber band.

Flood Icing
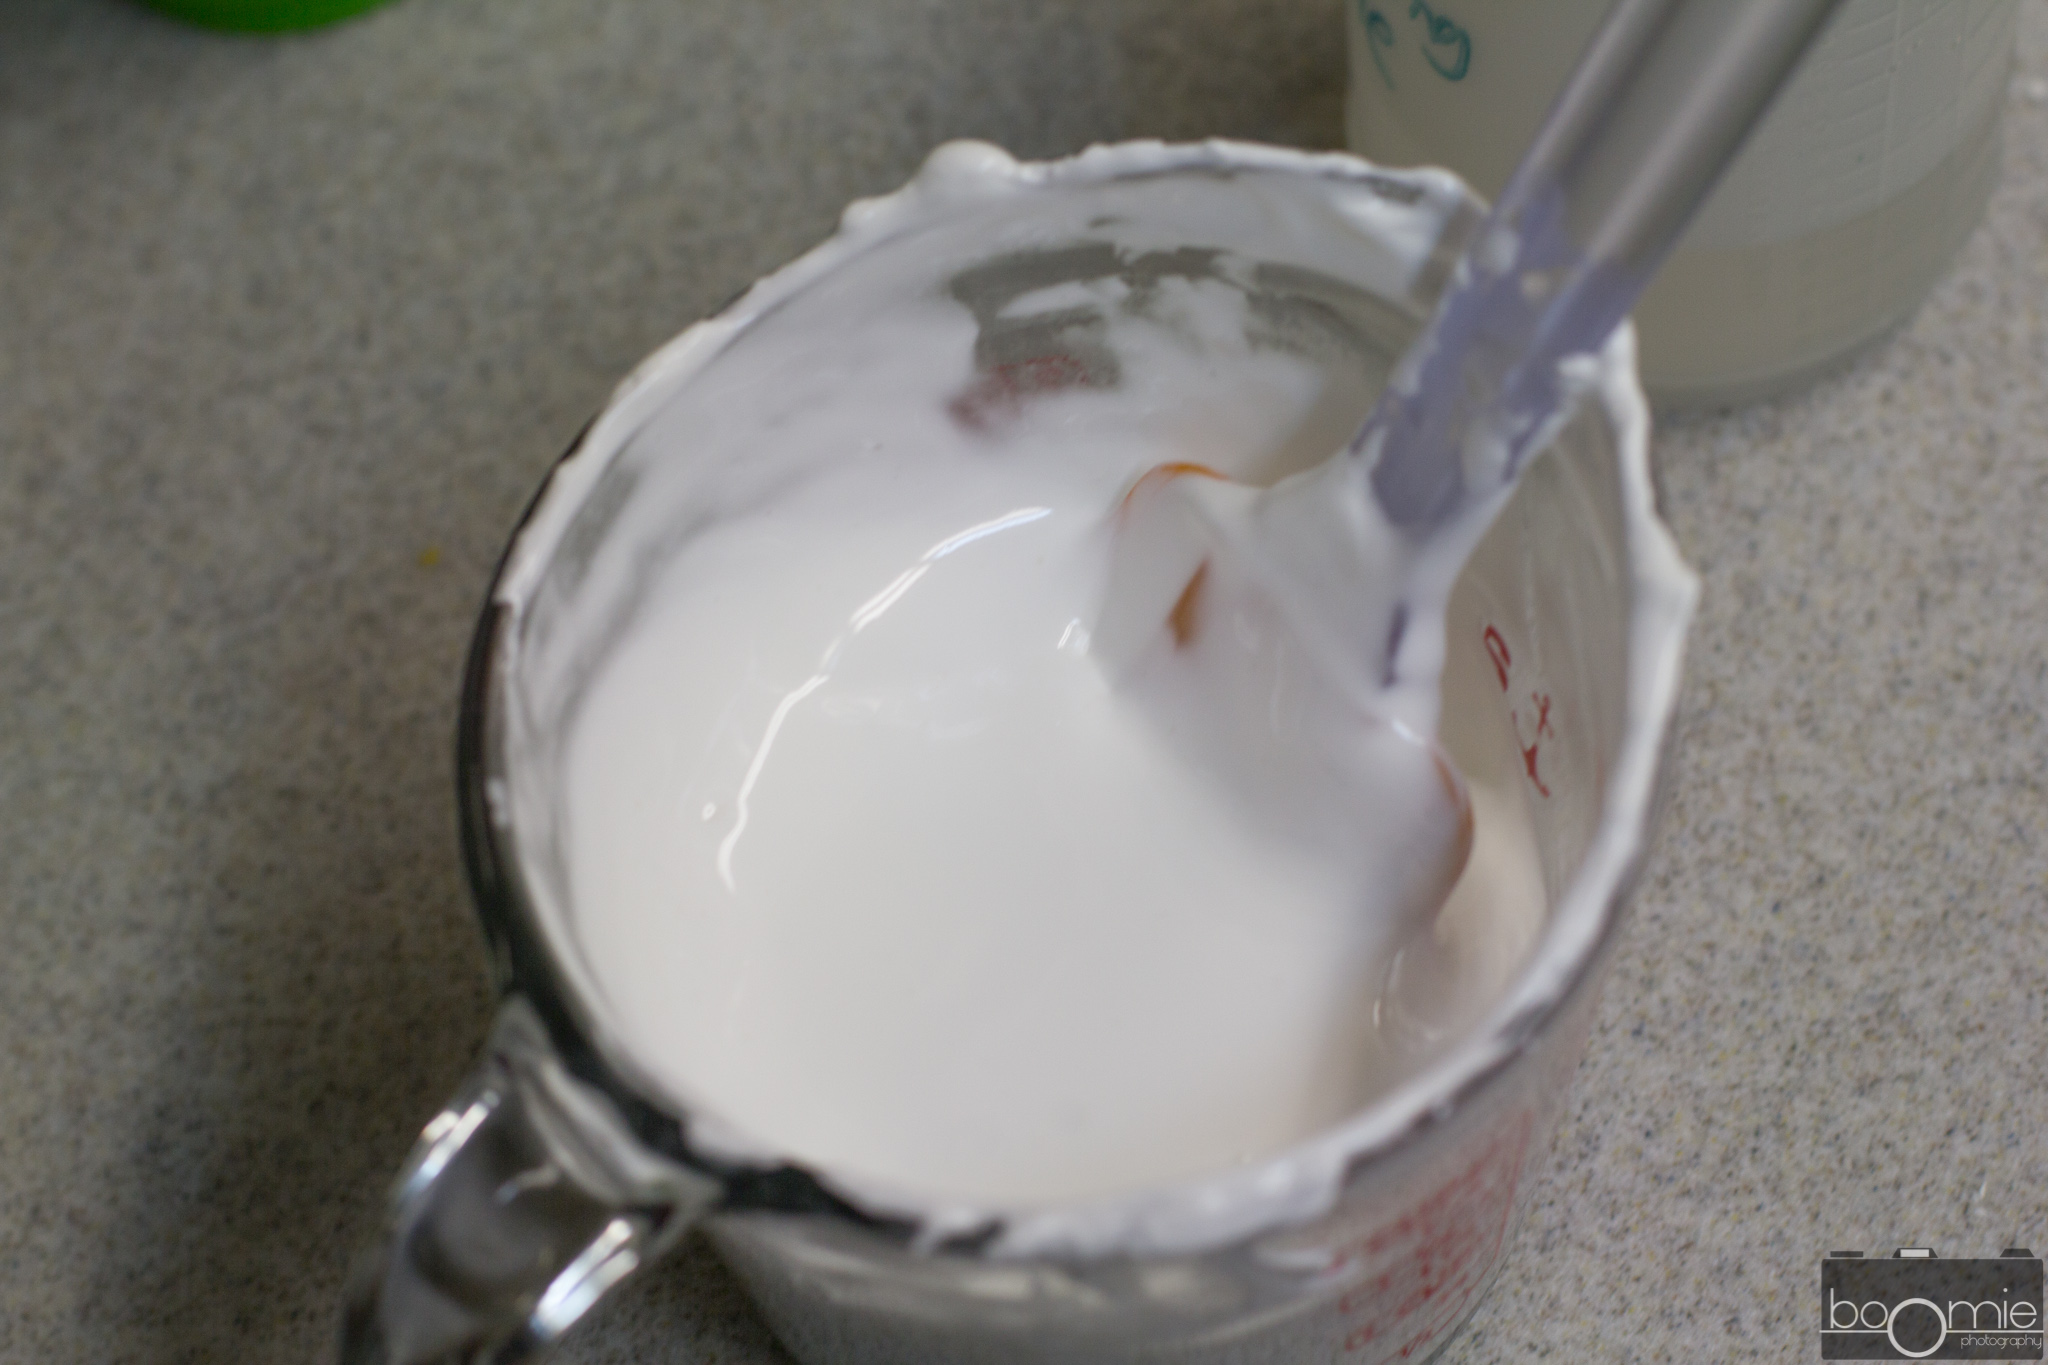
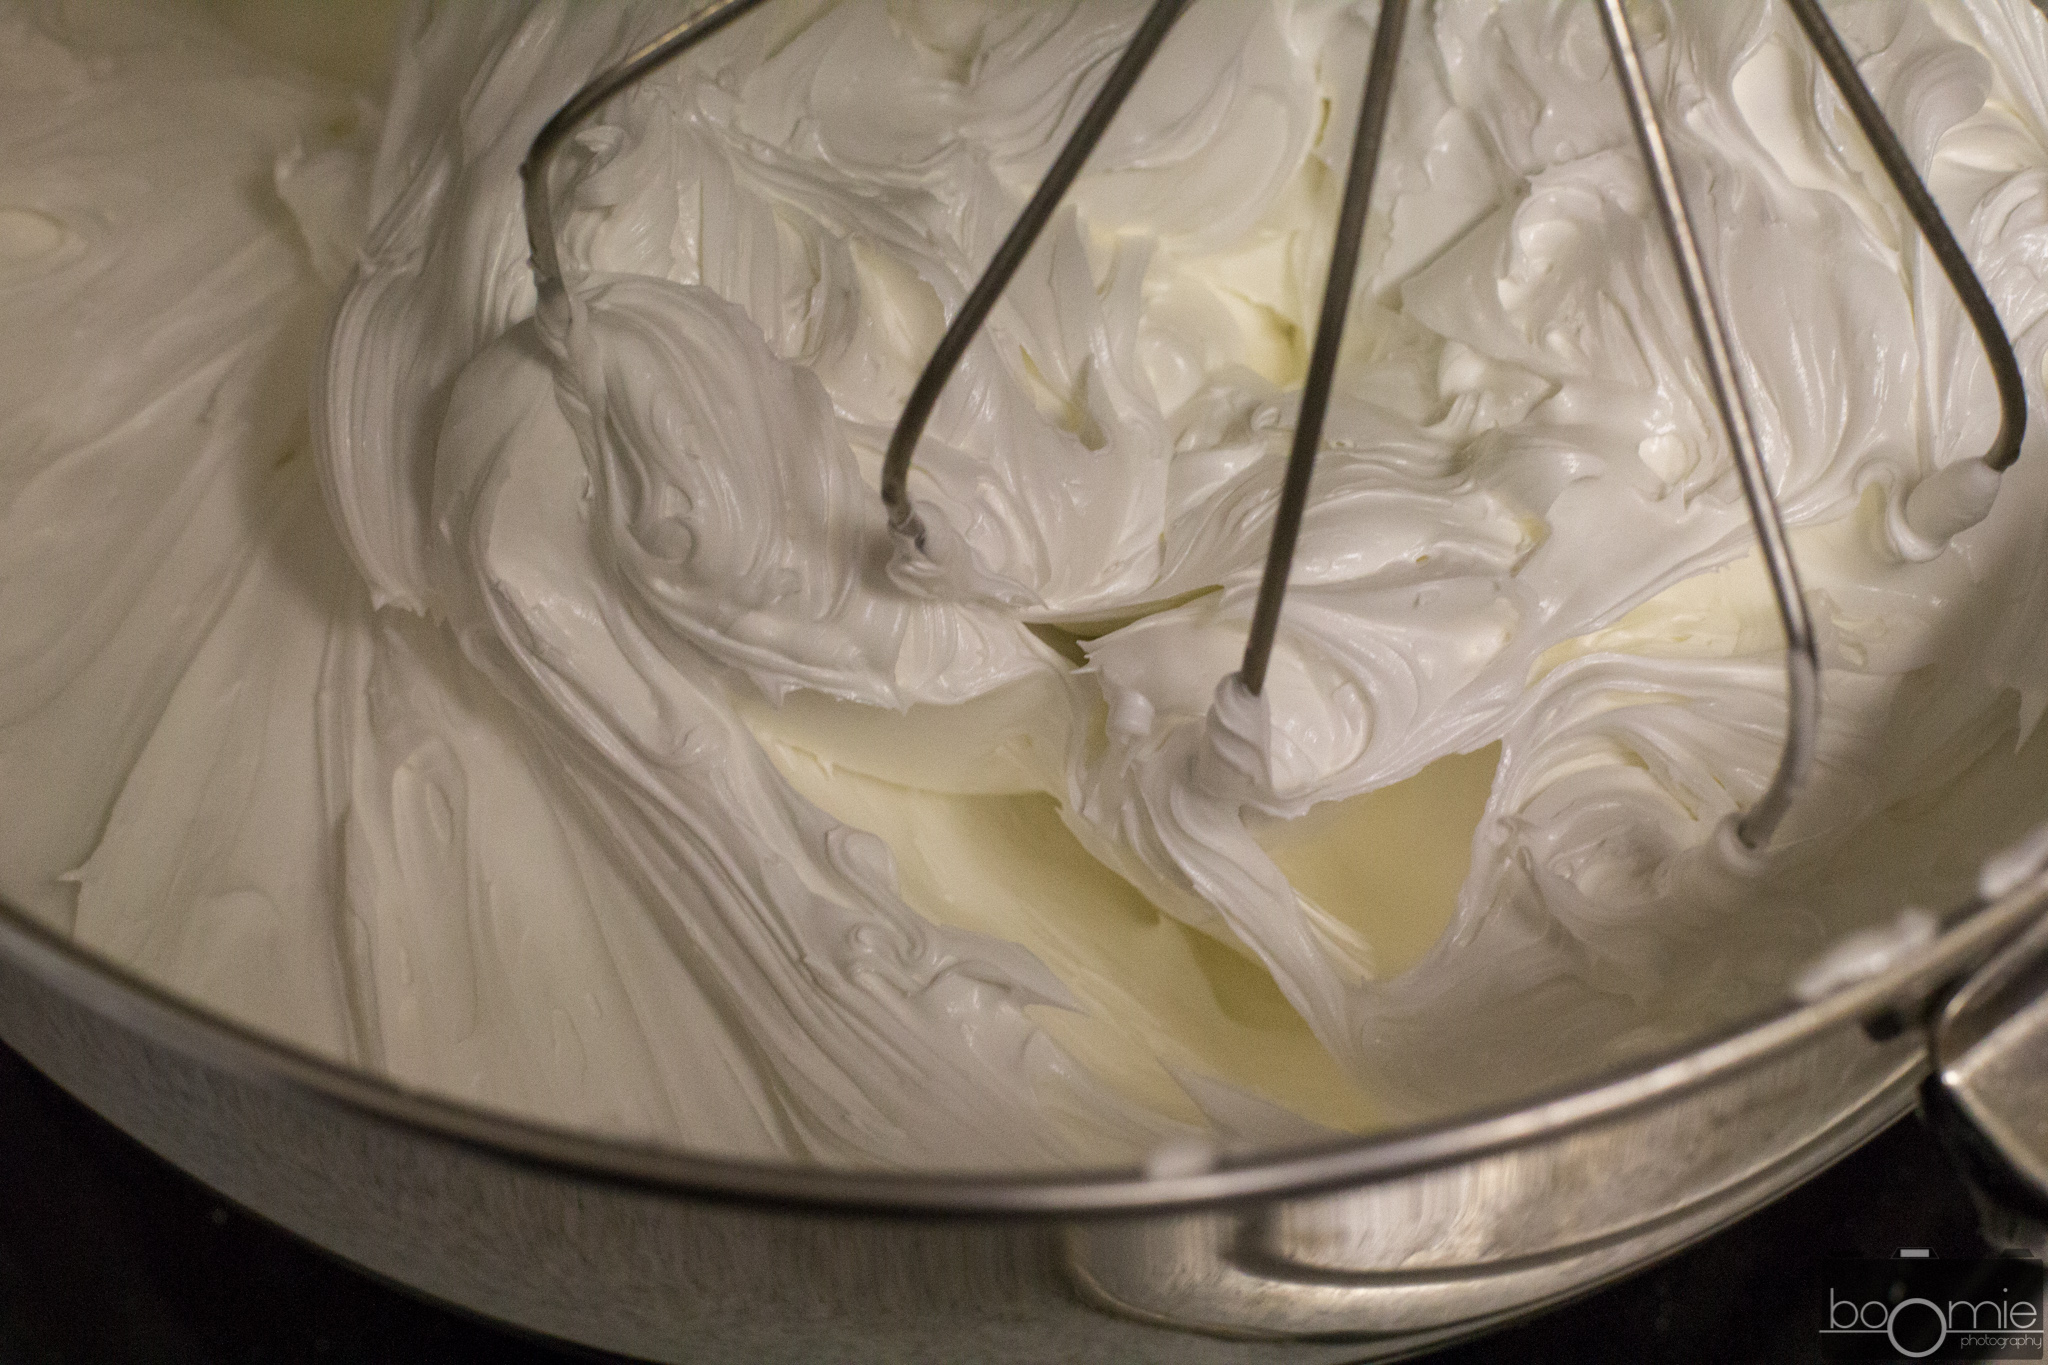
Continuing in the same mixing cup, continue to thin out the icing using 2-3 mists at a time (no more than 1 tsp) of water until it reaches the thickness of shower gel. If you draw a ribbon, it should be able to fall back onto itself in two seconds. Take this, and fill it into your squeeze bottles for easy squeezing. This should be thinner, but not thin enough to the point where it will just ooze all over the cookie.
Decorating Time
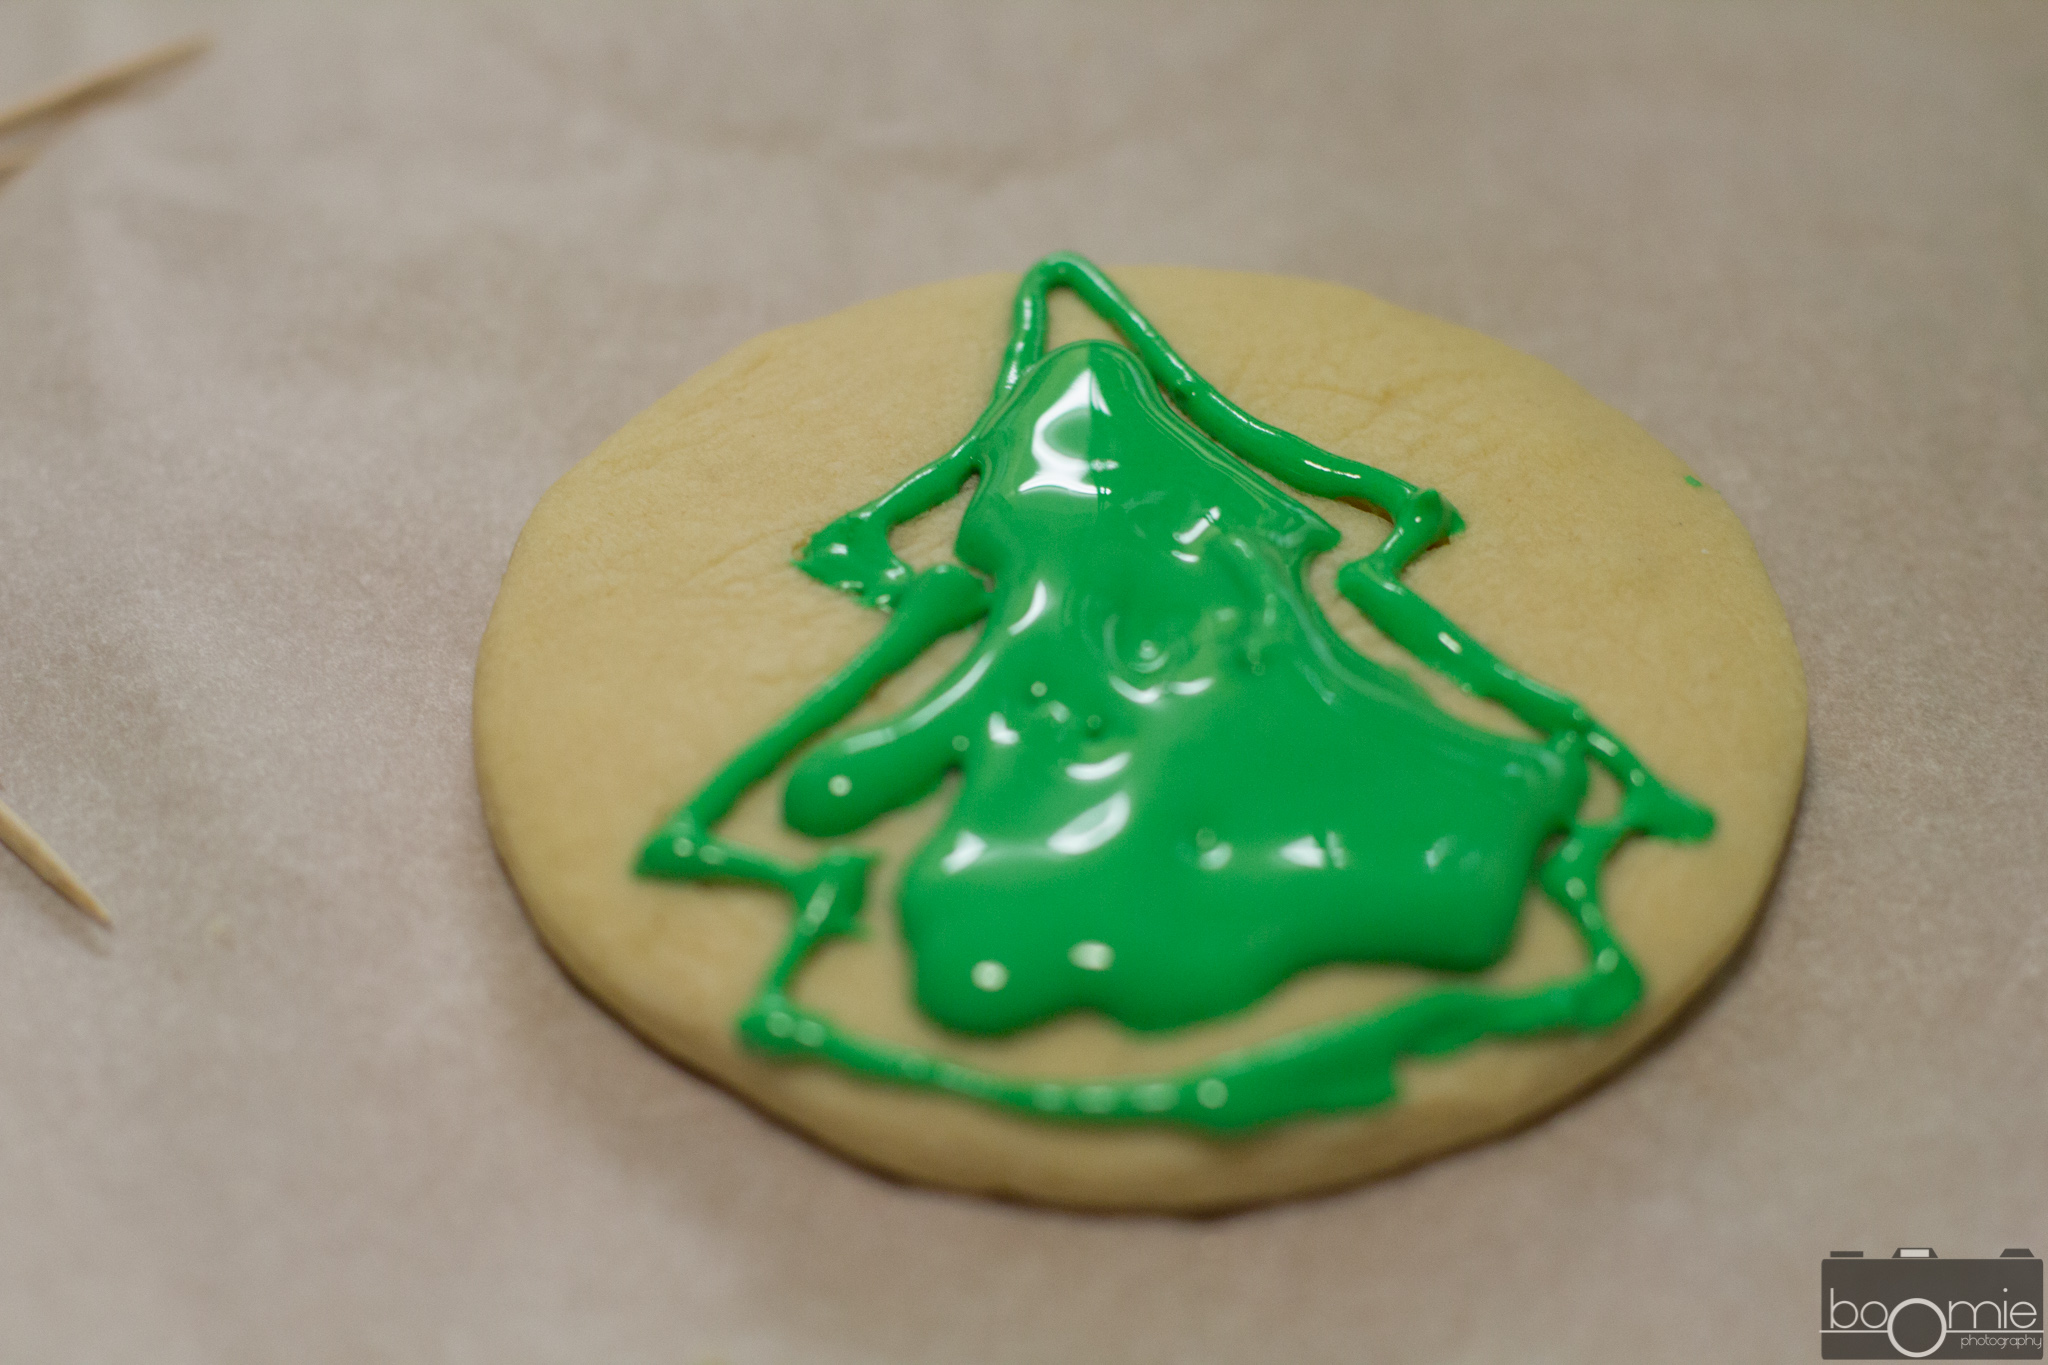
Now its time for the fun part. Outline your cookies with your outline frosting and let it set for a few minutes, until they are just sett. Then, fill your cooking with your flood icing. Don’t worry about reaching all the edges. When you have most of the center filled, use a toothpick to help you along.

You’re done!
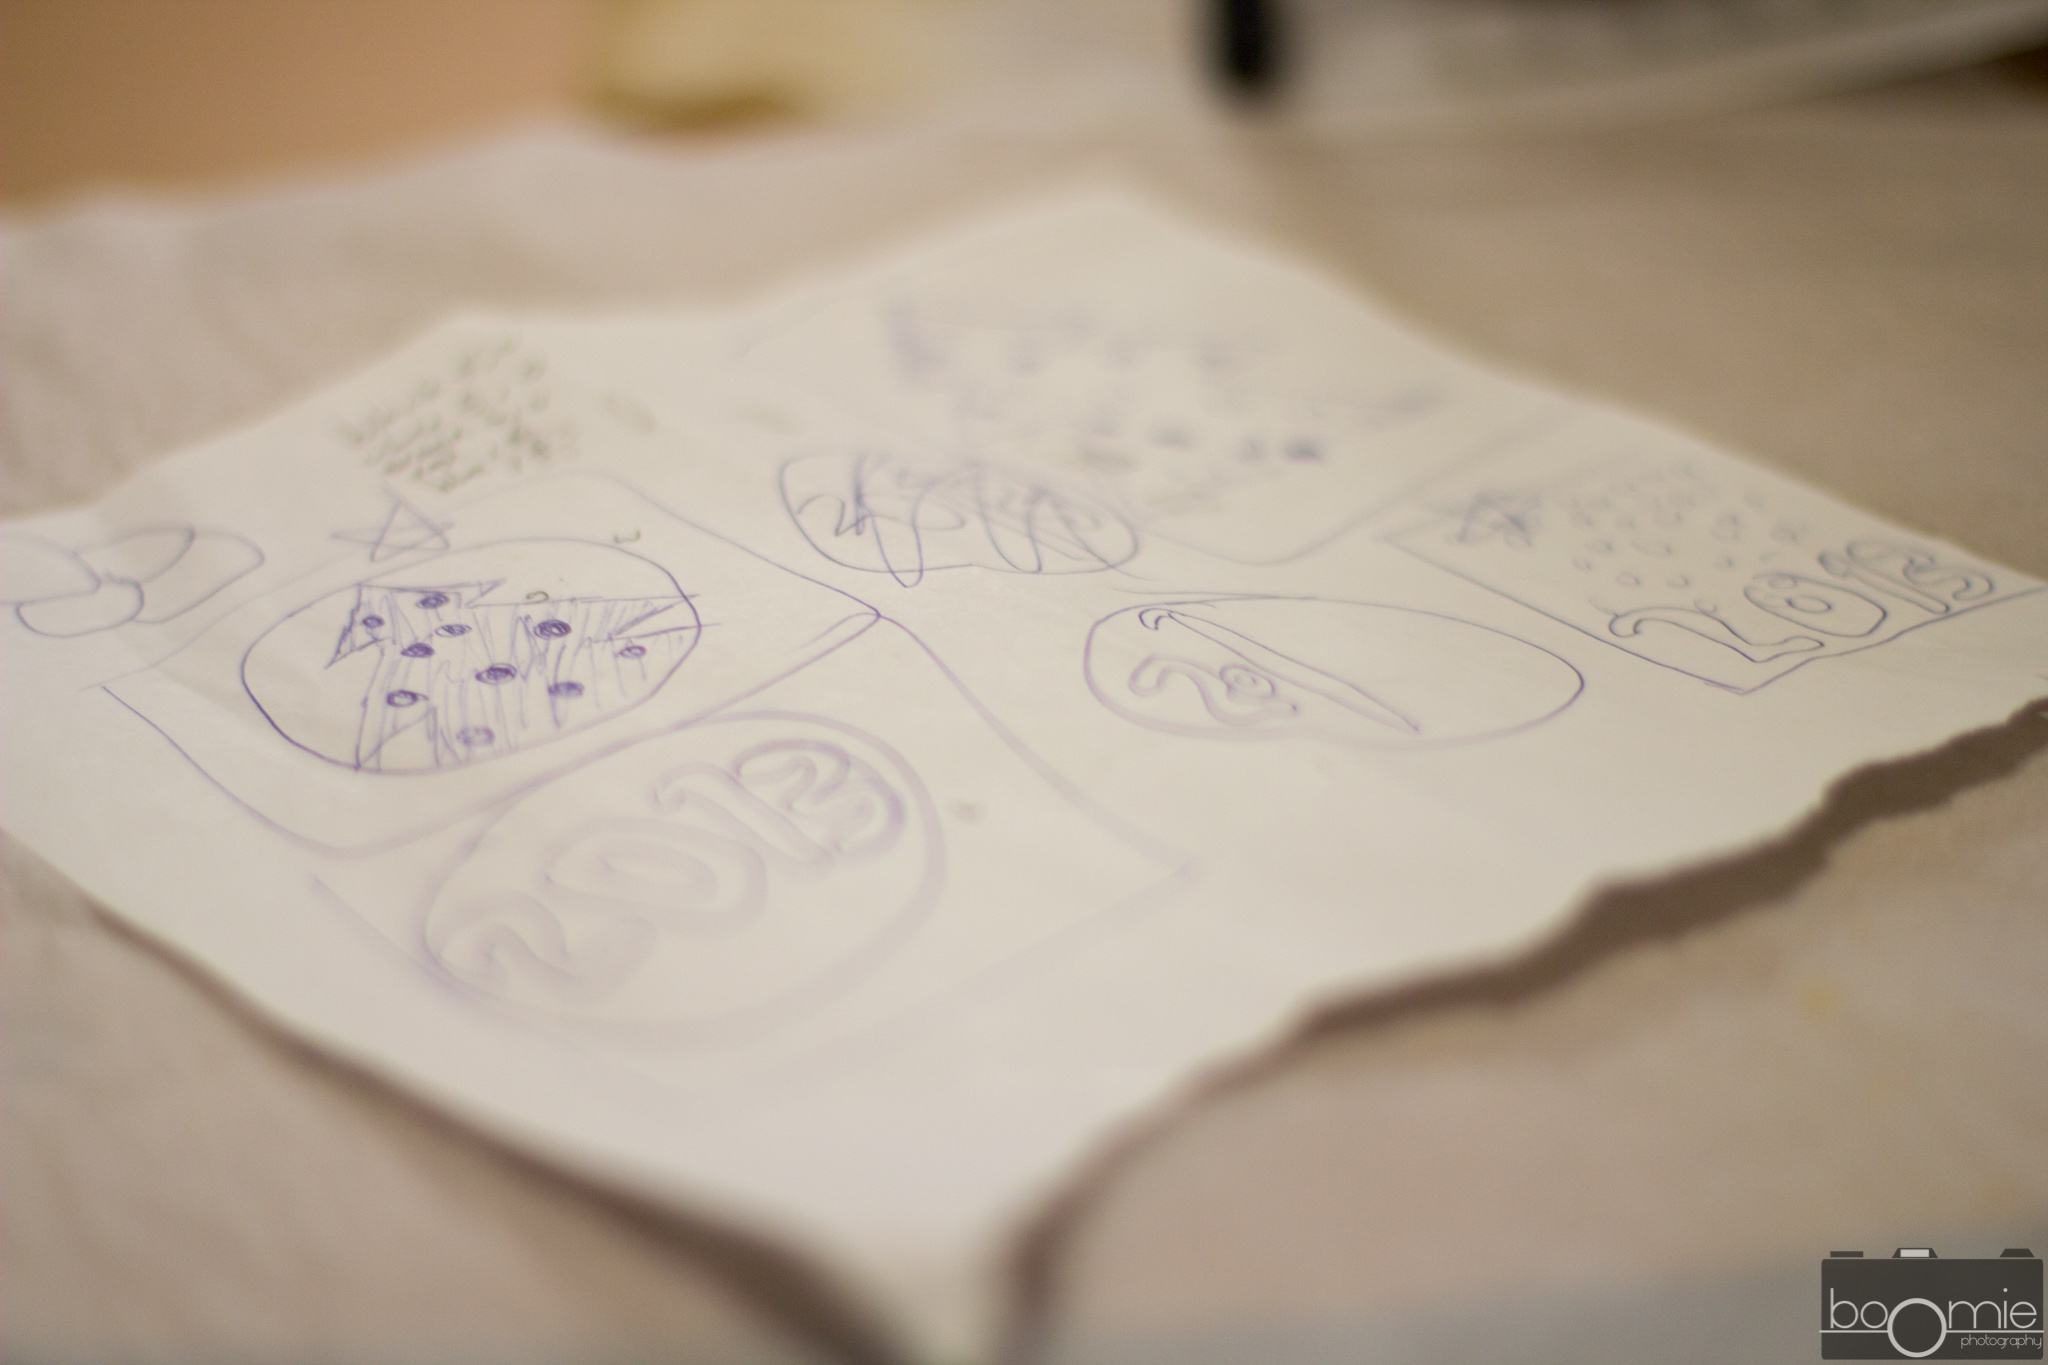
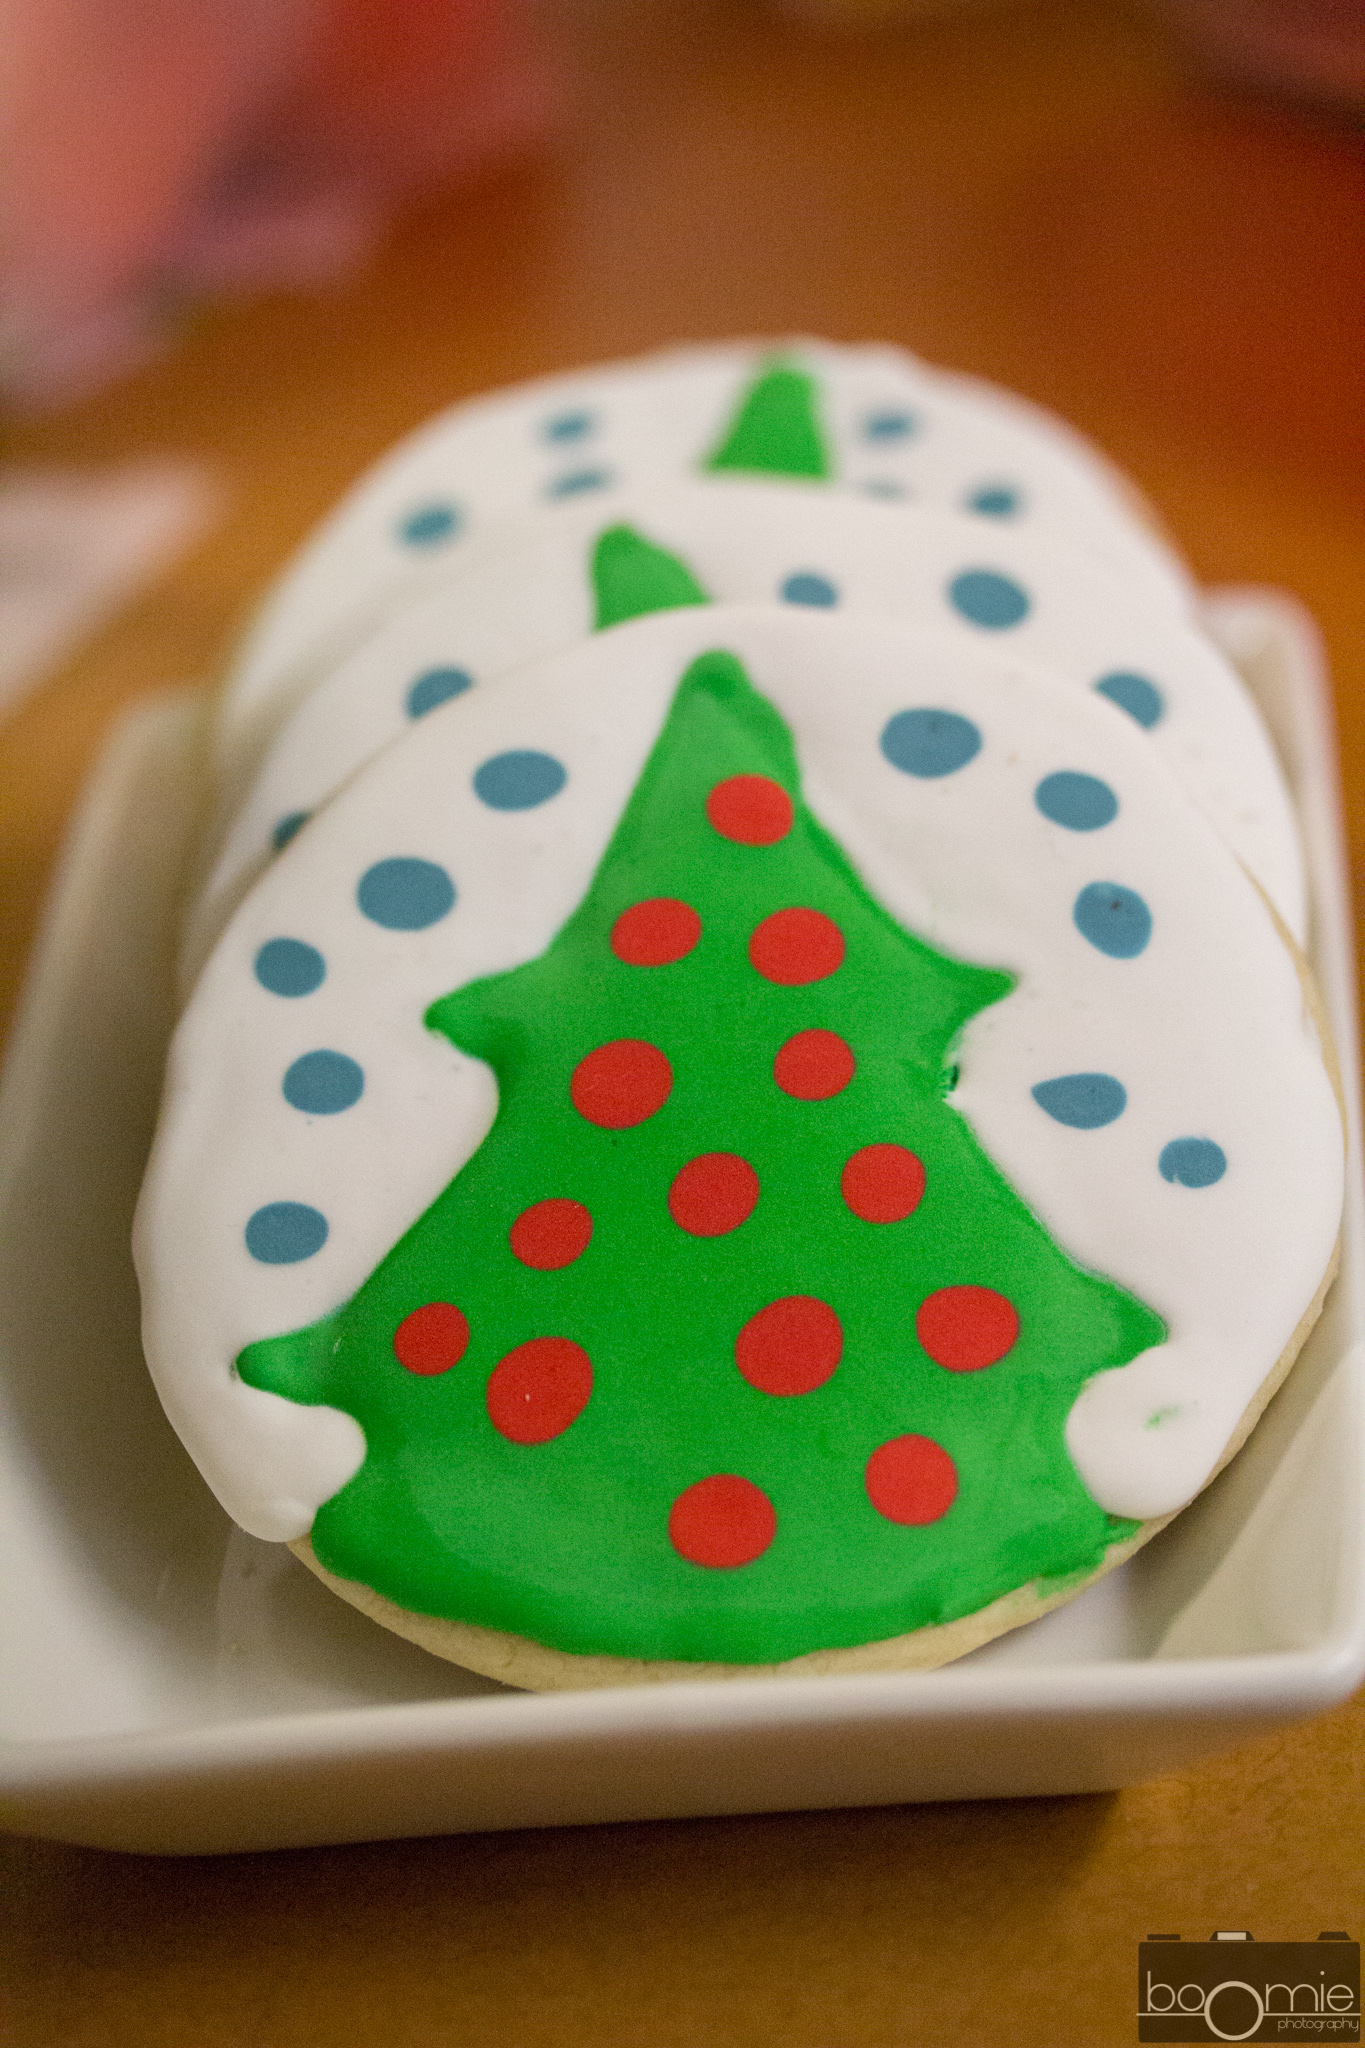
Yay! Flood-icing sugar cookies, with just a little patience and a little more practice, can produce stunning results that really is a lot more effortless than they may appear. To get you started with a few cookie ideas, I’m sharing two of my designs with you. As I mentioned in my cut-out sugar cookie post, these cookies started out as party favors. I wanted to make snow-globe-like cookies, one more fitting for Christmas, and the other for the new year.


For the Christmas snow globe cookie, I made my cut-outs utilizing a round cookie cutter. When the cookies came out of the oven, I gently outlined a Christmas tree onto the cookie using a tree shaped cookie cutter. When the cookie cooled down, I simply traced with my outline frosting and then filled with my flood frosting. I then used some red filling frosting and dropped droplets into the tree to create some ornaments. When my tree was set and done, I outlined the entire snow globe using a white outline icing. It was then filled with white and embroidered with blue droplets to act as glitter.

I then proceeded to made a new year cookie by filling a cookie completely using grey and decorated it with the same blue droplets as the christmas tree snow globe. Once those were completely set (I did this the next day), I traced the numbers 2013 onto the cookie using a food coloring marker and then traced that writing using an outline frosting. This was then filled using a different color to create a foreground/background effect.